 Save
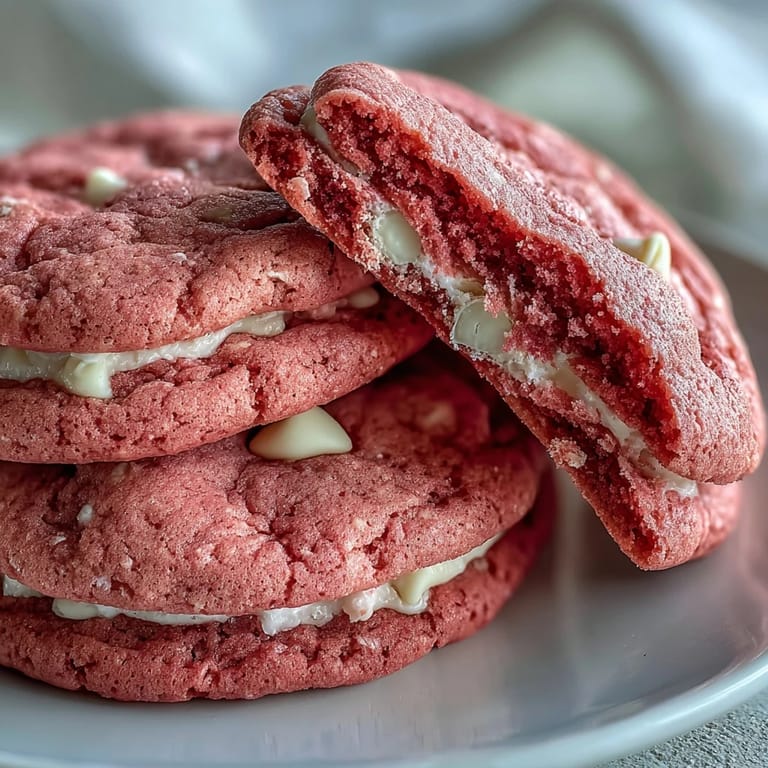
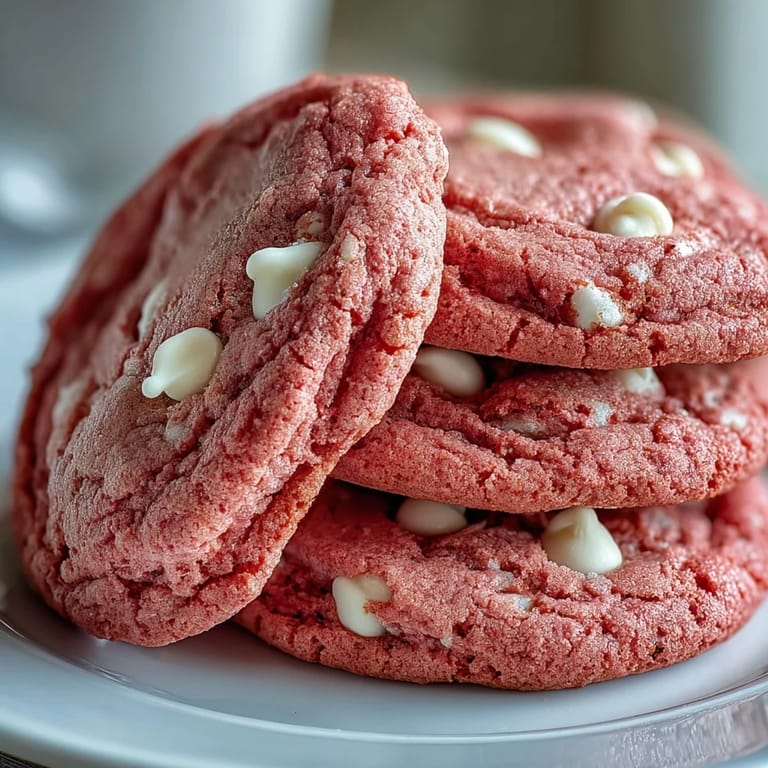
Save My daughter walked into the kitchen one Saturday morning and announced she wanted cookies that looked like happiness. I laughed, pulled out the mixer, and we ended up with these impossibly pink, impossibly soft cookies that made everyone who saw them smile before they even took a bite. The white chocolate chips looked like little clouds against the bright dough, and honestly, they tasted even better than they looked. Now they show up at every birthday, every potluck, every time we need something cheerful on the counter.
I brought a batch to a friend's baby shower, stacked them on a simple white plate, and watched as everyone reached for one before even sitting down. A few people asked if they were strawberry or raspberry flavored, surprised to find it was just pure vanilla with a pop of color. One guest tucked two into a napkin to take home, and I took that as the highest compliment. These cookies have a way of making any gathering feel a little more special, a little more playful.
Ingredients
- All-purpose flour (2 ½ cups): This gives the cookies their soft structure, and measuring by weight ensures they don't turn out too dense or too crumbly.
- Baking powder and baking soda (1 teaspoon and ½ teaspoon): Together they create the perfect lift and chew without making the cookies puffy or cakey.
- Salt (½ teaspoon): A small amount sharpens the sweetness and brings out the vanilla in a way that feels more grown-up.
- Unsalted butter (1 cup, softened): Room temperature butter creams beautifully with sugar and creates that melt-in-your-mouth texture we all crave.
- Granulated sugar (1 ½ cups): It dissolves into the butter to form a light, airy base that keeps the cookies tender.
- Egg (1 large): Binds everything together and adds moisture, so don't skip letting it come to room temperature first.
- Vanilla extract (2 teaspoons): Use the real stuff if you can, it makes the flavor warmer and more complex.
- Pink gel food coloring (2 teaspoons): Gel is key here because liquid coloring can throw off the dough's consistency and dull the color.
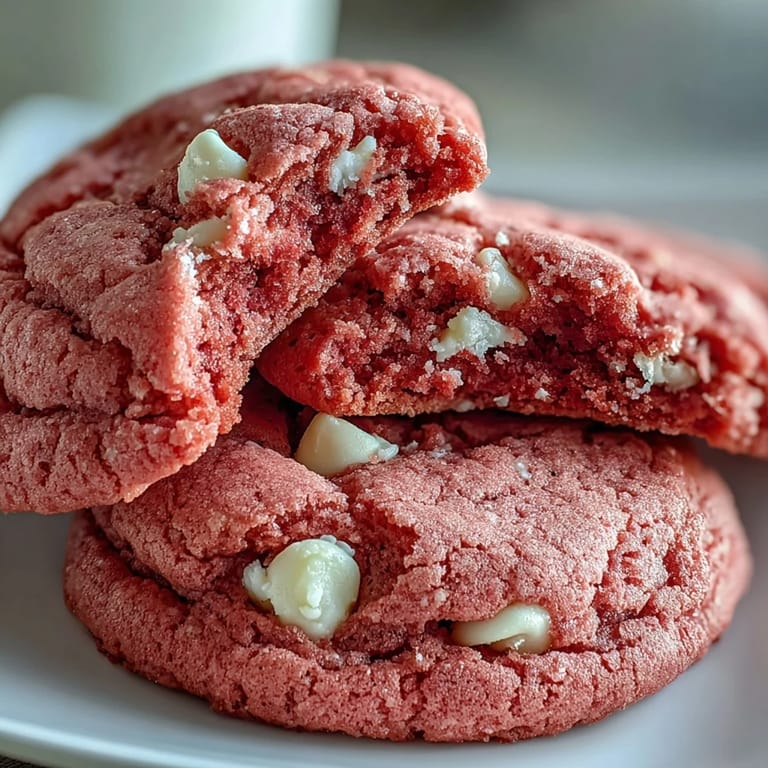
- White chocolate chips (1 cup): They stay creamy even after baking, adding little pockets of sweetness that contrast perfectly with the cookie.
Tired of Takeout? 🥡
Get 10 meals you can make faster than delivery arrives. Seriously.
One email. No spam. Unsubscribe anytime.
Instructions
- Whisk the dry ingredients:
- Combine the flour, baking powder, baking soda, and salt in a medium bowl, making sure there are no lumps. Set it aside while you work on the wet ingredients.
- Cream the butter and sugar:
- Beat the softened butter and sugar together for 2 to 3 minutes until it looks pale and fluffy, almost like frosting. This step adds air and makes the cookies lighter.
- Mix in the egg and coloring:
- Add the egg and vanilla, beating until smooth, then swirl in the pink gel food coloring. Keep mixing until the color is even and bright.
- Combine wet and dry:
- Gradually add the flour mixture to the butter mixture on low speed, stopping as soon as you don't see any dry streaks. Overmixing here makes the cookies tough.
- Fold in the chocolate chips:
- Use a spatula to gently fold in the white chocolate chips, making sure they're evenly distributed without overworking the dough.
- Chill the dough:
- Cover the bowl with plastic wrap and refrigerate for 30 minutes. This prevents the cookies from spreading too thin and helps them hold their shape.
- Preheat and prep:
- Heat your oven to 350°F and line two baking sheets with parchment paper. This keeps cleanup easy and prevents sticking.
- Scoop and space:
- Use a tablespoon or cookie scoop to portion out the dough, placing each ball 2 inches apart on the sheets. They'll spread just enough to get crispy edges.
- Bake until set:
- Bake for 10 to 12 minutes, watching for edges that look firm while the centers still appear soft. They'll finish setting as they cool.
- Cool completely:
- Let the cookies rest on the baking sheets for 5 minutes, then move them to a wire rack. This prevents them from getting soggy on the bottom.
 Save
Save One evening I packed a tin of these cookies for a neighbor going through a rough week, and she texted me later that night saying they were the first thing that made her smile in days. Sometimes food does more than fill you up. It reminds you that someone thought of you, that small joys still exist, that sweetness can show up when you least expect it.
How to Store and Keep Them Fresh
These cookies stay soft and chewy for up to a week when stored in an airtight container at room temperature. I usually tuck a piece of parchment between layers to keep them from sticking together, and they hold up beautifully in lunchboxes or care packages. If you want to freeze them, layer them in a freezer-safe container with parchment and they'll keep for up to three months, thawing at room temperature in about 20 minutes.
Fun Ways to Customize
You can press a few extra white chocolate chips onto the tops right before baking for a bakery-style look, or swap in dark chocolate chips if you want a little bittersweet contrast. A half teaspoon of almond extract makes them taste almost like a pink macaron, and a few drops of rose water turns them into something fancy enough for a bridal shower. I've also made them gluten-free with a 1:1 flour blend and no one could tell the difference.
Serving Suggestions and Pairings
These cookies are perfect alongside a cold glass of milk or a mug of vanilla chai, and they look gorgeous stacked on a dessert table next to fresh berries or pastel macarons. I've sandwiched two cookies together with cream cheese frosting for a quick treat that feels more special than it really is, and they're wonderful crumbled over vanilla ice cream for an easy sundae. They also pack beautifully into cellophane bags tied with ribbon if you need a last-minute gift.
- Serve them warm with a scoop of strawberry ice cream for an indulgent dessert.
- Pair with hot cocoa or a vanilla latte for an afternoon pick-me-up.
- Stack them in a clear jar on the counter where everyone can see that happy pink color.
 Save
Save Every time I make these, someone asks for the recipe, and I love that they're simple enough to share without a long explanation. They're proof that a little color and a lot of butter can turn an ordinary day into something worth remembering.
Recipe FAQs
- → Why is my cookie dough too sticky?
If your dough feels too sticky, it likely needs more chilling time. The 30-minute refrigeration period is crucial for the dough to firm up, making it easier to scoop and preventing excessive spreading during baking.
- → Can I use liquid food coloring instead of gel?
Gel food coloring is recommended because it provides vibrant color without adding excess liquid to your dough. Liquid coloring can alter the texture, so if you must use it, reduce another liquid ingredient slightly.
- → How do I know when the cookies are done baking?
The cookies are ready when the edges are set but the centers still appear soft. They may look slightly underbaked, but this is perfect—they will continue cooking on the hot baking sheet and firm up as they cool.
- → Can I freeze the cookie dough?
Absolutely! Scoop the dough into balls, freeze them on a baking sheet until solid, then transfer to an airtight container. You can bake them straight from the freezer, adding 1-2 minutes to the baking time.
- → What's the best way to store these cookies?
Keep them in an airtight container at room temperature for up to one week. For longer storage, freeze the baked cookies for up to three months. Thaw at room temperature before serving.
- → Can I make these gluten-free?
Yes! Substitute the all-purpose flour with a 1:1 gluten-free flour blend. The texture may be slightly different, but they'll still be delicious and chewy.