 Save
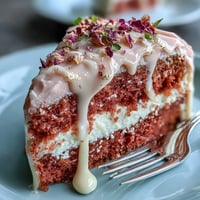
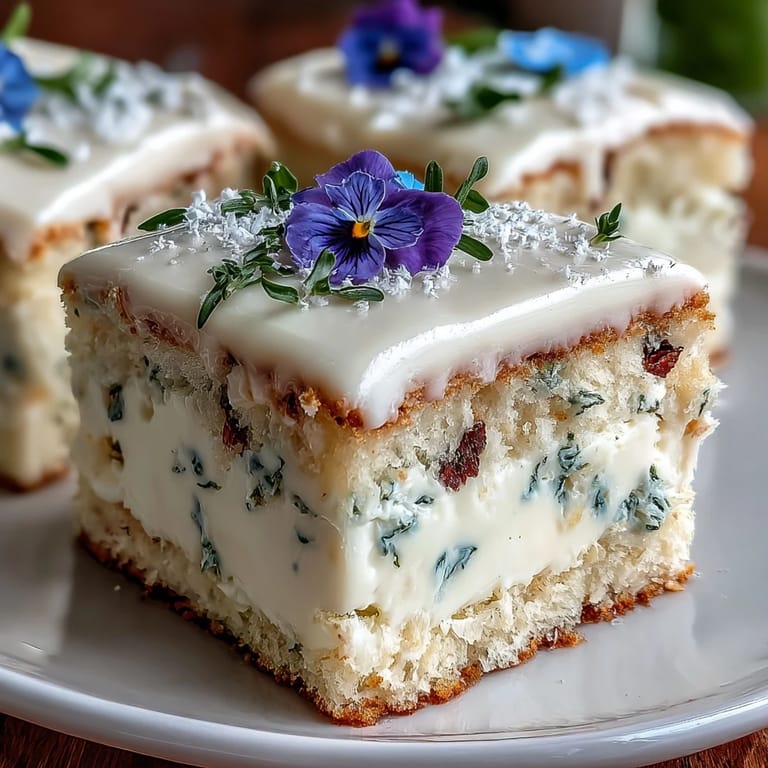
Save My friend texted me a photo of her daughter's birthday wish list, and right at the top was a picture of delicate mini layer cakes crowned with purple pansies. I'd never made anything quite so fancy before, but something about those tiny, colorful towers felt like a challenge worth taking on. The kitchen was quiet that afternoon, just me and my mixer, learning that sometimes the most impressive desserts are actually the most forgiving. When I pulled those feather-light cake rounds from the oven and they came out perfect, I knew I'd found something special.
I'll never forget the moment my friend's daughter took her first bite at her birthday party, her eyes going wide as she noticed the pansy petals on top. Everyone at the table suddenly wanted one, and I watched people taste them with a kind of delighted surprise, like they'd stumbled onto something unexpected and wonderful. That's when I realized these cakes do something beyond just tasting good—they make people feel celebrated.
Ingredients
- All-purpose flour (1 1/4 cups): Don't sift it before measuring, or you'll end up with a denser cake than intended; weigh it if you can.
- Baking powder (1 tsp): This is what keeps the cakes tender and ensures they'll rise evenly in your sheet pan.
- Salt (1/4 tsp): A small pinch that you might overlook, but it makes the vanilla taste brighter and the lemon more pronounced.
- Unsalted butter (1/2 cup for cake, 3/4 cup for buttercream): Room temperature is non-negotiable here; cold butter won't cream properly and you'll end up with a grainy buttercream.
- Granulated sugar (3/4 cup): This dissolves into the batter, creating that tender crumb structure that makes these cakes so special.
- Eggs (2 large, room temperature): Cold eggs won't emulsify properly with the butter, so pull them out of the fridge about 30 minutes before baking.
- Pure vanilla extract (1 tsp for cake, 1 tsp for buttercream): The real stuff matters; imitation extract will make everything taste slightly harsh by comparison.
- Lemon zest (1/2 tsp): Just the bright outer layer, not the bitter white pith underneath; a microplane zester makes this foolproof.
- Whole milk (1/2 cup, room temperature): Temperature really does matter in baking; cold milk can seize the batter.
- Powdered sugar (2 cups, sifted): Sifting removes lumps that would make your buttercream grainy and unpleasant.
- Heavy cream or milk (1-2 tbsp for buttercream): Start with 1 tablespoon and add more only if needed; too much cream makes the frosting weep.
- Edible flowers (about 1 cup): Source these from specialty baking suppliers or farmers markets where you can ask about pesticide use; grocery store flowers are often treated with chemicals you don't want to eat.
Tired of Takeout? 🥡
Get 10 meals you can make faster than delivery arrives. Seriously.
One email. No spam. Unsubscribe anytime.
Instructions
- Prep Your Pan and Heat Your Oven:
- Set the oven to 350°F and line a 9x13 inch baking sheet with parchment paper, giving it a light grease so nothing sticks. Having everything ready before you start mixing makes the whole process feel less chaotic.
- Mix Your Dry Ingredients:
- Whisk together the flour, baking powder, and salt in a medium bowl, making sure there are no hidden lumps of baking powder lurking at the bottom. This step takes 30 seconds but prevents dense, uneven cakes.
- Cream Butter and Sugar:
- Beat softened butter and sugar together for about 3 minutes, until the mixture looks pale and fluffy like clouds. You'll know it's ready when you lift the mixer and the mixture falls in soft ribbons.
- Add Eggs One at a Time:
- Drop in each egg individually, beating well after each addition so the mixture stays smooth and emulsified. This patience pays off in a tender crumb.
- Add Vanilla and Zest:
- Mix in the vanilla extract and lemon zest, letting the mixer run for about 15 seconds until everything is fragrant and evenly distributed. The zest gives you little bursts of brightness in every bite.
- Combine Wet and Dry in Stages:
- Add half the flour mixture first, then the milk, then the remaining flour, stirring gently after each addition until just combined. Overmixing at this point will make your cakes tough, so stop as soon as you don't see streaks of flour.
- Spread and Bake:
- Pour the batter onto your prepared sheet and spread it evenly with an offset spatula or the back of a spoon. Bake for 18 to 22 minutes, until a toothpick inserted in the center comes out clean or with just a few moist crumbs clinging to it.
- Cool the Cake Layer:
- Let the cake cool completely on the baking sheet—this usually takes about 30 minutes—before you attempt to cut it. A warm cake will crumble and tear; a cool cake cuts cleanly.
- Cut Out Your Rounds:
- Using a 2.5 to 3 inch round cutter, press straight down through the cake without twisting; twisting can seal the edges and prevent clean cuts. You'll get 12 rounds from the sheet, and any scraps can become cake pops later.
- Make the Buttercream:
- Beat softened butter until creamy, then gradually add the sifted powdered sugar, vanilla, salt, and 1 tablespoon of milk, beating until light and fluffy. If it seems too thick, add another tablespoon of milk, a tiny bit at a time, until you reach spreadable consistency.
- Tint if Desired:
- Add a drop or two of food coloring if you want pastel shades, stirring gently to distribute the color evenly. Go slow with the color; you can always add more, but you can't take it out.
- Assemble Your Mini Cakes:
- Place one cake round on a serving plate and spread with a thin layer of buttercream, then top with a second round and another thin layer of buttercream. Think of it like building a delicate sandwich.
- Frost and Decorate:
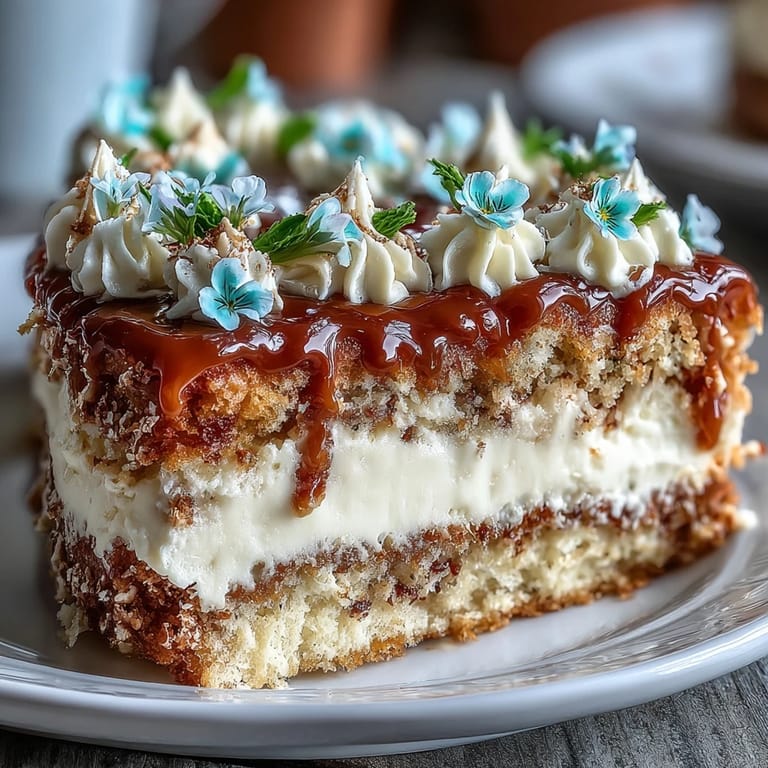
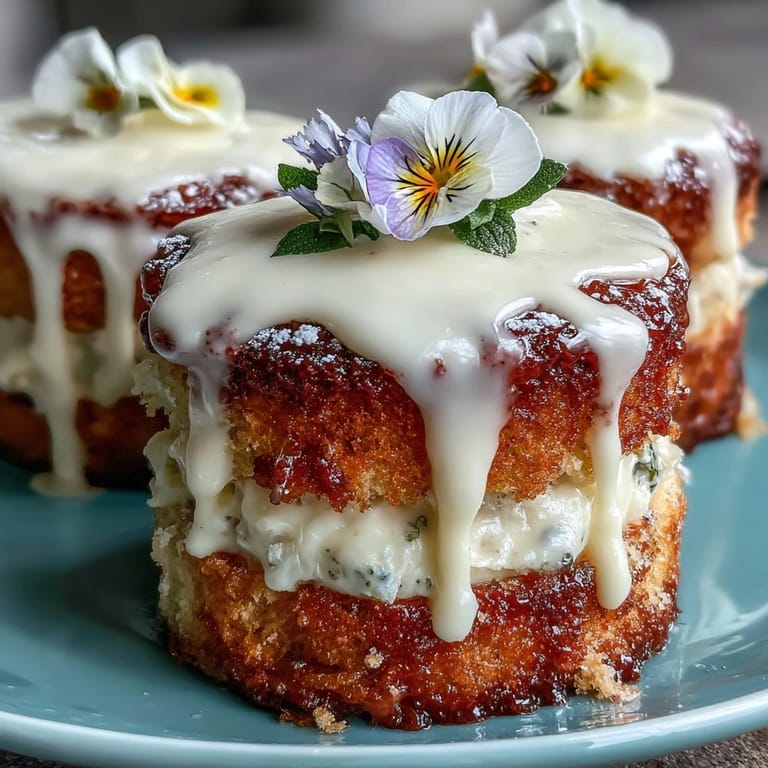
- Spread a small dollop of buttercream on top of each mini cake and arrange your edible flowers artfully, pressing them gently so they stick. Step back and look at your work; you've just created something that looks like it came from a fancy bakery.
- Chill Before Serving:
- Pop the cakes in the refrigerator for at least 15 minutes so the buttercream firms up and the whole cake holds together beautifully. This makes the texture perfect and the flowers stay in place.
 Save
Save There's something magical about watching someone's face when they realize those edible flowers are real and they can actually eat them. I've made these cakes for three birthdays now, and every single time, people slow down and really taste them instead of just rushing through dessert. That's when food becomes memory.
Why These Cakes Feel Special
Mini cakes have this wonderful quality where they feel precious because they're just the right size—enough cake to satisfy without that heavy, too-full feeling you get from a big slice. Each person gets their own complete experience, their own frosting swirls, their own flower arrangement, which somehow makes the celebration feel more personal. The lemon zest keeps everything from tasting too sweet, so even after other desserts or a big meal, these feel bright and welcome on the palate.
Timing and Make-Ahead Strategy
The smartest move I've learned is to make the cakes the day before you need them, wrap each round in plastic wrap, and store them in an airtight container at room temperature. Make the buttercream the morning of the party, tint it your chosen colors, and you can assemble everything just a few hours before guests arrive. This approach removes so much last-minute stress and lets you actually enjoy the celebration instead of being stuck in the kitchen.
Troubleshooting and Fixes
If your cakes come out dense, it's almost always because the butter and sugar weren't creamed long enough, or the flour was overmixed. If your buttercream looks grainy, you probably didn't sift the powdered sugar or your butter wasn't quite soft enough. If the flowers won't stick to the frosting, make sure your buttercream is thick enough and has had time to set slightly in the fridge.
- Dense cake means underbeating the butter and sugar; aim for at least 3 minutes until it looks pale and cloud-like.
- Weeping buttercream usually means you added too much milk; use it sparingly and only if truly needed.
- Flowers sliding around means your buttercream is too soft; refrigerate for 10 minutes before decorating.
 Save
Save These cakes remind me that sometimes the most meaningful celebrations are the ones where you've put thought and care into every single detail. They're proof that baking doesn't have to be complicated to be beautiful.
Recipe FAQs
- → What types of edible flowers work best for decoration?
Violas, pansies, and nasturtiums are ideal choices due to their vibrant colors and food-safe qualities.
- → Can I tint the buttercream frosting?
Yes, pastel food coloring can be added to buttercream to achieve soft, spring-inspired shades.
- → How should I store the mini layer cakes?
Keep them refrigerated in an airtight container to maintain freshness and texture for up to 2 days.
- → Is it necessary to brush layers with syrup before assembly?
Brushing with citrus syrup is optional but enhances flavor and moisture within each layer.
- → What is the best way to cut uniform mini cake rounds?
Use a 2.5–3 inch round cookie cutter to create evenly sized circles from the cooled baked sheet.
- → Are these cakes suitable for vegetarians?
Yes, all ingredients used, including eggs and dairy, are vegetarian-friendly.